Baby Doll Accessories Decor Guide-Baby Doll Bassinet Decoration Ideas

Reborn baby doll bassinets look super-cool due to a lot of factors. The material selected, the design chosen and the pattern put together by the reborn doll artists. It’s the final product that is always eye-catching not just for us, but also the babies who sit in the bassinet.
However, these are not the only steps that matter. Even the sewing matters and ultimately, that’s the only thing that’s bringing your reborn baby doll bassinet to life.
There are some steps for sewing your bassinet properly and let’s have a proper look at them.
Steps for sewing your bassinet
First, we will look at some of the stuff that you will need, in order to create a superb basket.
- A sketch of the pattern or the raw design itself.
- Some yards of cotton
- And several interfaces, for providing support to your fabric.
Starting off, cut the cotton yards and take out the main bassinet covers and also attach interfaces to them. After settling the middle piece, you can stitch it down and do the same on the other side, so that they look alike and form a proper shape.
Then for the outline, select some other pieces and then stitch them as lines.
Moving further, we come down to the straps that are to be strong and supportive to the whole bassinet. Create a round shape, and then sew it to the bassinet. Cover all the areas of the bassinet, while you are pinning the strap to it, so that it stays strong and doesn’t break when you pick it up, with your baby in it. Ensuring safety will be actually important. So, stitch both the straps properly around the bag.


Make sure that all the layers are properly stitched and nothing is coming off.
Then take your bassinet and all the layers under a sewing machine.
The purpose of a sewing machine will be to create a design and that you can decide on your own. It should just suit your decided pattern and only then it will make sense.
Moving on, the final steps will be about cutting down the raw and rough edges if any. However, after such a long procedure it’s quite hard to avoid raw and rough edges. Doing it at home is not at all easy.
And after all these steps, you are good enough to go!
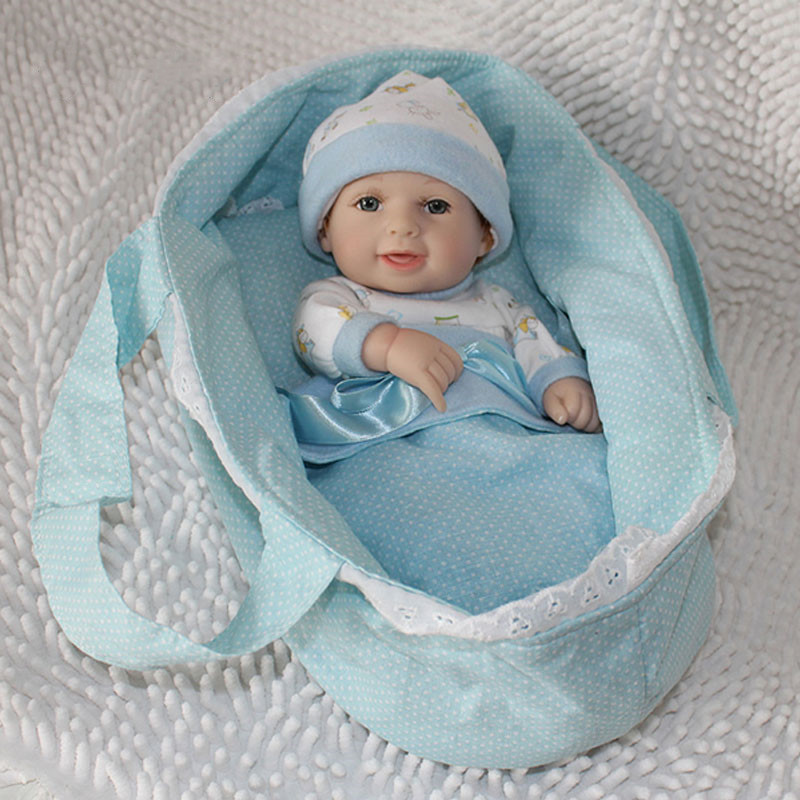
If you follow all these steps carefully, then your baby doll bassinet will look more than perfect and cute.
Your baby can peacefully, sleep in the cute bassinet that you create for him.
Two cases used some of these steps and expanded some ideas to make the doll’s cradle decoration more creative.
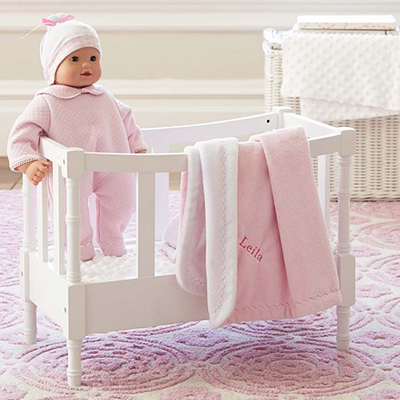
Ana White’s DIY moon doll bassinet


This moon doll cradle is inspired by Pottery Barn Kids’ baby doll cradle. Their version retails for $99, plus shipping, and her version is made of scrap wood. She chose to use Deco Art Americana Decor Chalky Finish paint for a worn, weathered appearance, and brown wax for preservation and artificial. An interesting feature of this bassinet is back bending. Ana designed the plan using a 1×4 board attached to the side to form a curve. Here are some notes about the build process.


Ana’s plan was followed here, and all wood chips were used. Make sure to fill all screw heads with wood putty and smooth sand. She used DecoArt Americana Decor chalk powder to paint the entire cradle during preservation. For the fan-shaped trim, print a 3-inch circle on the card stock and cut it in half. Using a semicircle as a mold, trace around the edges along the curve of the moon. Use the DecoArt Americana Decor chalk in the artifact to paint in a semicircle. Once dry, the edges can be frosted as needed. Apply dark brown cream wax to all surfaces to complete and seal the paint.
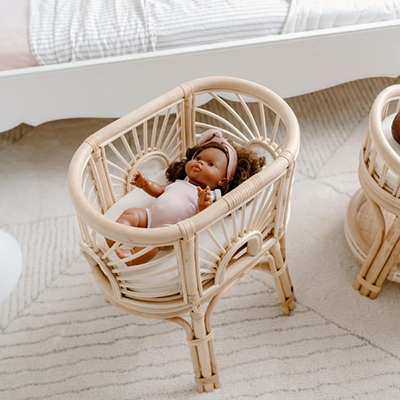
Crocheted Doll Bassinet with Changing Pad
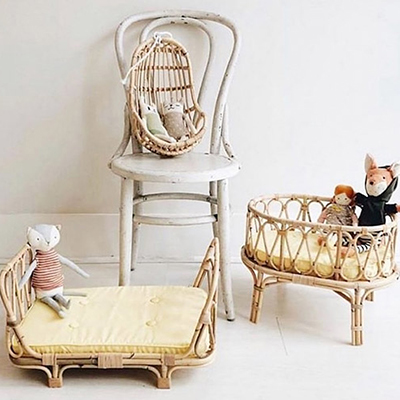
The best gift for a crocheted baby cradle with replaceable pads is this Moses basket or a baby cradle crocheted with T-shirt yarn for those who like baby dolls. The fun of crocheting turned out to be so cute. A small mattress/replacement pad has been added, which adds something extra to the bassinet. They are very suitable for mini reborn dolls. Of course, the cradle alone is also great!
Crochet doll basin you need:
T-shirt yarn in your favorite color
6.5mm crochet or hook size will cause tight work


How to do:
Just follow the pattern of the oval base, but make the base small enough to fit in the cradle. Then, the frame is made by weaving a row of SC around only in the front loop. Then weave another row in HDC, and that’s it!
Reborn baby doll bassinets are not that difficult to sew and stitch in 2021. And that’s only because there is a lot of information available out there on the internet. If you want to read something, then even that’s possible. If not written information, then you may also check out videos.
However, these steps will help you enough and you may not need any other help in preparing your bassinet.