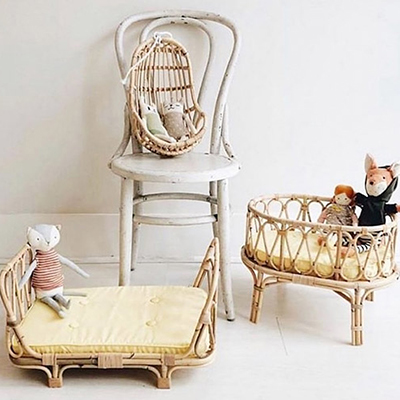
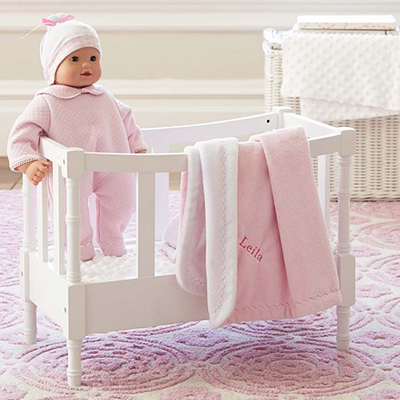
Sewing Pattern for Reborn Baby Doll Bassinet DIY

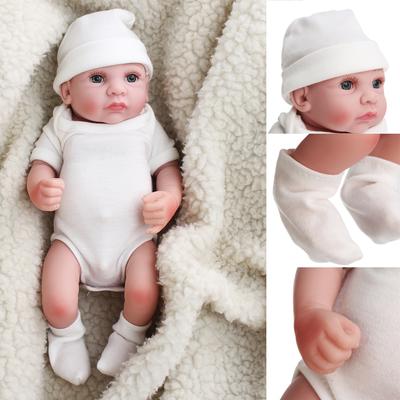
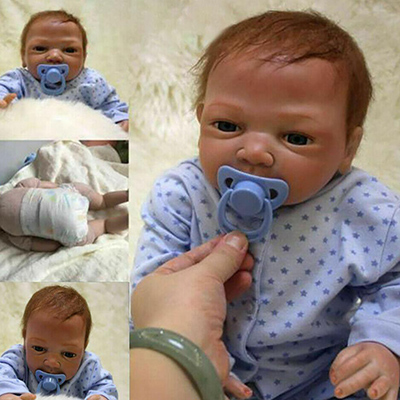
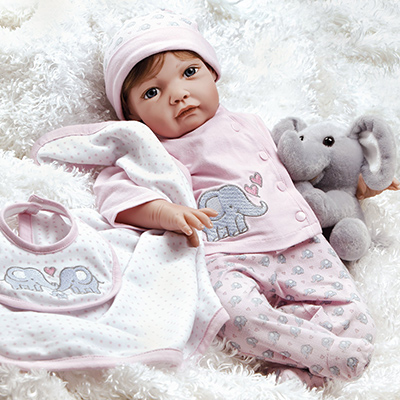
Are you a fan of reborn dolls, or does your child play with dollies of their own? If yes, then we have an amazing activity planned to do which you can have all the fun you want. We will teach you how to build pretty little reborn baby doll bassinets for your dolls.
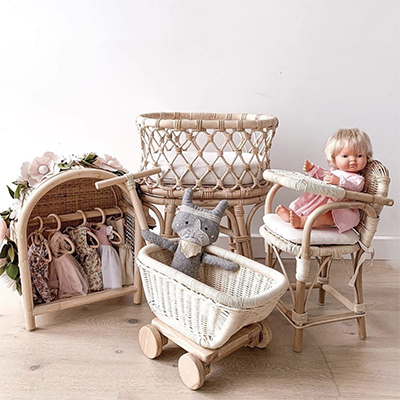
The reborn baby doll bassinet is the reborn doll accessory that your doll needs. Why buy them when you can make one of your own? They are beautiful, stylish, attractive, and require almost little to none specialized skill set in order to sew one for yourself.
 Materials Required
 Materials Required
To sew reborn baby doll bassinets, you will first and foremost need a ‘baby doll bassinet’ design pattern that will guide you through the process.
The raw materials that are required other than the design pattern is 1 yard of main cotton fabric, 2 yards of cotton lining fabric, bias tape, heavyweight interfacing, and fusible fleece interfacing.
How to Make it the Bassinets DIY
Phase 1
First of all, cut out two bassinet pieces from the cloth that will be each other’s mirrored image. After these bassinet pieces have been cut out, you need to apply the interfacing. The interfacing that you will add would go on the back of all the cut-out bassinet pieces.
Now comes the first stitching part. Stitch down the curve, all across the straight bottoms, and also up the short end. Repeat the same procedure with the opposite side of the bassinet, and that will conclude step 1 of sewing reborn baby doll bassinets.
Phase 2
Coming to the second step of sewing reborn baby doll bassinets, you will need the procedure explained in the first step for the lining pieces of your bassinet. To provide extra body and support to your baby bassinet, you need to stitch in a pair of fleece interfacing.
Continuing on, on the second step, take the straps and fold them in half with their right sides together along the long side. Once you have folded the strap, stitch it down the long side at the 1/4″ mark. Lastly, on the second step, you need to press it after turning it out on the right side.
Phase 3
At the end of the third step, you should have a round strap. To achieve that goal, you need to turn the raw ends of the strap half an inch inside the strap. Fit one end of the strap inside the other and stitch them together.
Phase 4
As soon as your round straps are ready, you will first pin them around the main bassinet and then stitch the straps to the bassinet in the fourth step. Now you will start to notice the main structure of your bassinet.
Phase 5
In the fifth step, you need to place the lining inside the main bassinet while keeping the wrong sides with each other the whole time. Now stitch the layers at 1/4″ after pinning them together.
Phase 6
To pass through the sixth step, you need to pick up your rectangles and get on your sewing machine to ruffle them.
Phase 7
After you have ruffled your rectangles, now is the time to stitch them to the right side of your reborn baby doll bassinet. The raw edges of the bassinet may need a little trimming down.
Phase 8
In the eighth step of sewing yourself a reborn baby doll bassinet, take the bias tape and pin it to the wrong side of the bassinet edge. Stitch a single layer of the bias tape.
Phase 9
Enter the ninth step and the last step, take the bias tape and turn it in the front direction of the bassinet. Lastly, find the raw edges of the bassinet and stitch them over.
Final Word
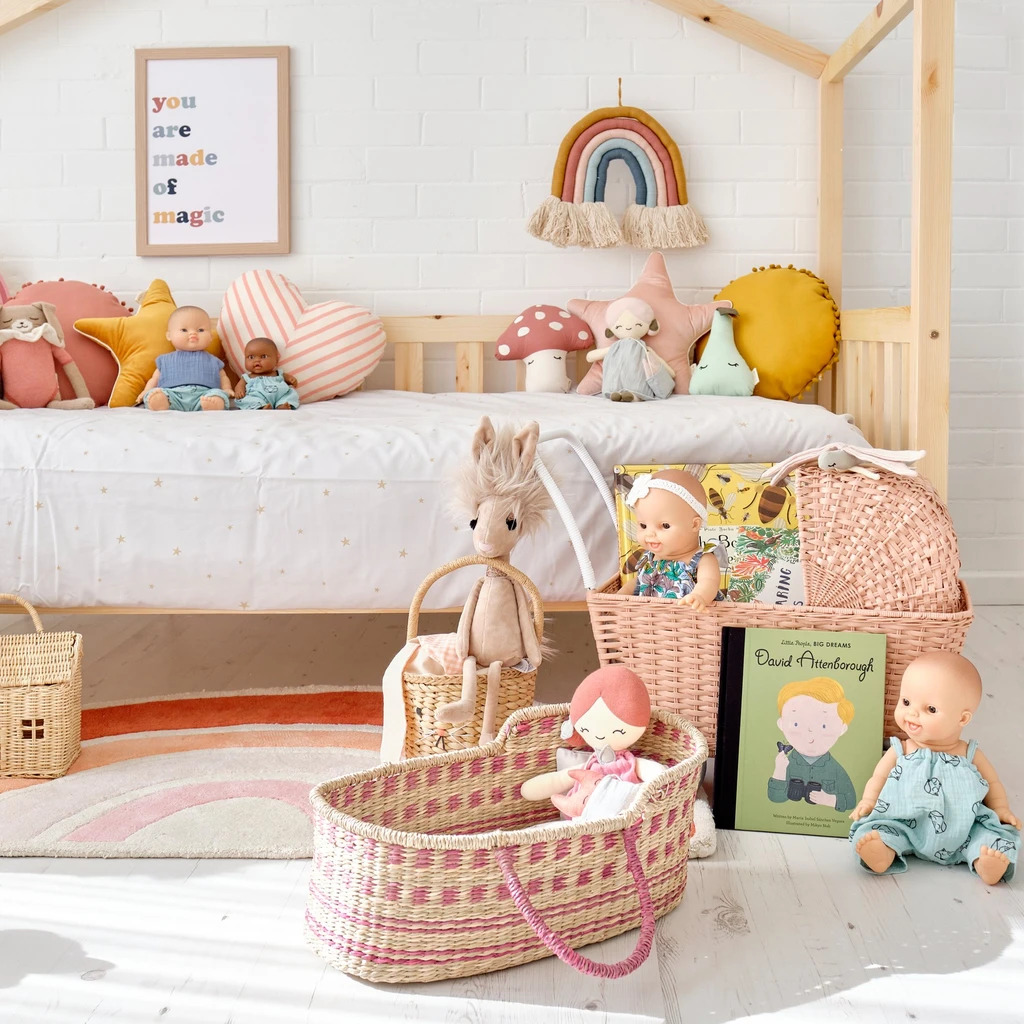
Now that you have made your first bassinet, you can make as many reborn baby doll bassinets as you like. These bassinets look very cute with your dolls and are well structured, sturdy, and spacious enough to support baby dolls that are up to 18 inches taller.
You can also experiment and customize your way around different types of colors and materials that you find suitable according to you and the different dolls for whom you want these cute little bassinets.


nice article thanks for the info very helpful