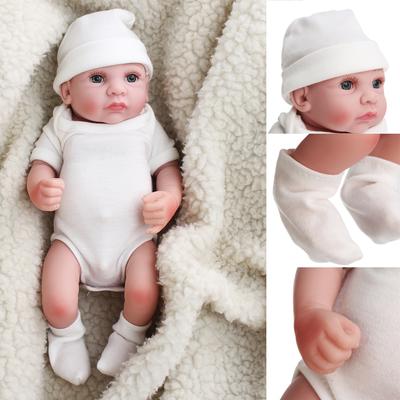
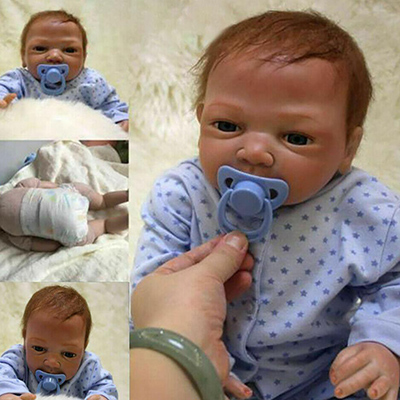
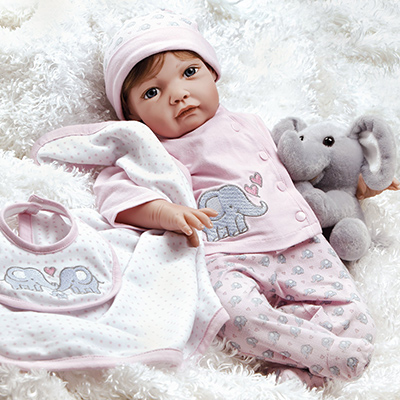
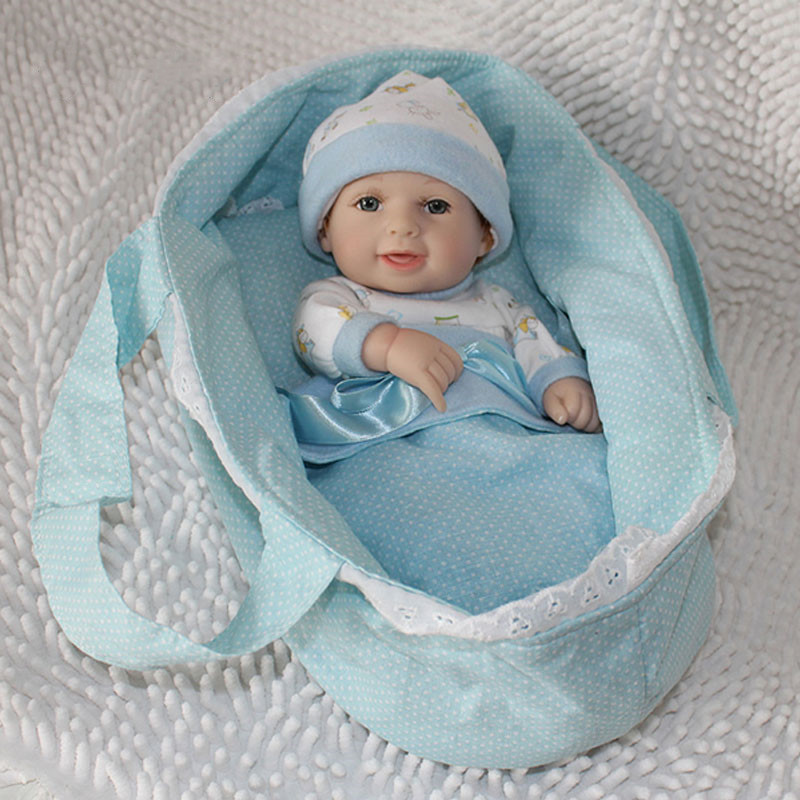
Tips for Making A Reborn Doll

Reborn doll artists all over the world are credited for their ability to create, market and sell happiness especially for parents who can’t adopt or bring forth children to the world. Reborning a doll is to make a doll as lifelike as possible using paints, rooting hair, and inserted eyes, if needed. Irrespective of the fact that people make the act of reborning to look and seem easy, reborning takes hours of hard work and dedication before pulling it off. To guide you on how to make a reborn doll, enclosed below are some tips to guide you through every step of the way.

Step One: Preparation
Preparing the doll for the reborning process is the first phase on this list. After acquiring a vinyl toy doll, be sure to take off the limbs and head. Then soak them warm water, while prepping them for painting. On like the other phases of reborning a doll, this is arguably the easiest phase of them all.
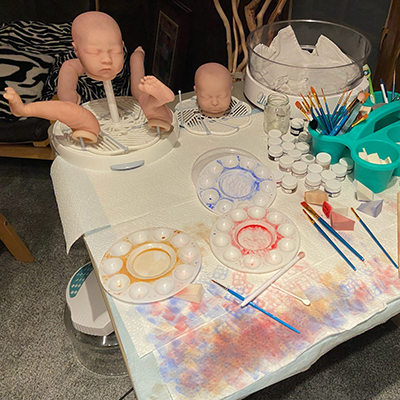
Step Two: First Coat of Paint
After preparing the doll(s), another enticing aspect associated with reborning a doll comes through painting the doll. Remember, the race of the cute baby determines the colors of paint that will suit the baby best while looking ever so natural.
Step Three: Painting Proper
At this state, the reborn artist then applies some more paint on the first coat or base coat. This second coat of paint is essential to bringing out the beauty and making your idea more and more visible. Taking that in mind, this phase is delicate and needs a lot of time and patience to pull it off.
Step Four: Blushing
While woodwork engineers sand or machine their wood to achieve a certain degree of smoothness, reborn artists on the other hand always blush their reborn dolls to make them look as realistic as possible. This blushing process preps the reborn for painting and is one of the key elements to achieving any desired look for your cute angels.
Step Five: Replace the Eyes
In reborning a doll, the eyes play a key role. Since you need them to look as realistic as possible, creating provisions for higher quality, more life-like eyes work just fine.
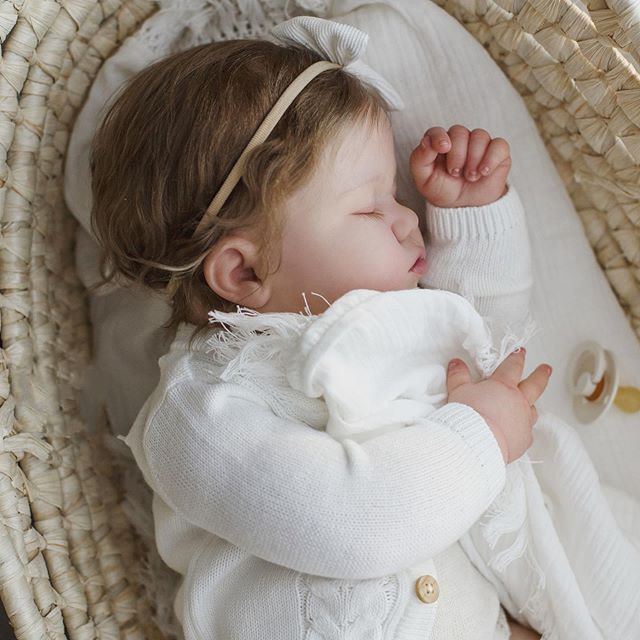
Step Six: Rooting of the Hair
In order to achieve a head full of soft baby hair, your ability as an artist to root the mohair individually in the scalp of cute babies is key. This art can only come to light by making use of the smallest drill bit available, or by simply punching holes with a felting needle on the reborns head. By the way, rooting hair care is important.
Step Seven: Stuff and Weigh the Reborn
Reborning a doll isn’t just as simple as eating a piece of cake, but the good news is the process isn’t too complicated either. This stage of reborning a doll entails stuffing and weighing your doll down with the appropriate materials to give it that much-needed natural realistic feel possessed by reborns.
Step Eight: Finishing Touches
This final phase entails piecing the reborn together limbs by limbs while overseeing the installation of the magnet needed for pacifiers. The moment this step is completed, you should definitely be in possession of a high-quality reborn doll. A reborn that is ready to be dressed and pampered and ready to put a smile of who so ever comes for its adoption.
Step Nine: Finalizing Your Reborn
You’re almost there, so bear with us through this last step. In this eighth and final step, we’ll show you how to piece together the limbs for your reborn doll, as well as how to install a magnet to use for pacifiers. When you get through this step, you should have a high-quality reborn doll that’s ready to be dressed and pampered to your liking.